Lightwarden Ruia
The Blinding Vale · boss 3 of 4
The once-respected Rootwarden Ruia could not defeat the Lightbloom on his own. His wounded pride led him to drawing power from the Lightbloom and using it to punish all others instead of aiding his allies.
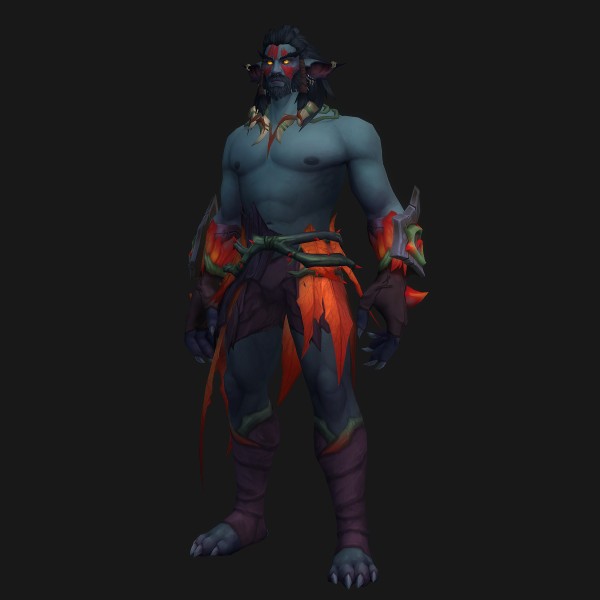
Two forms with different rulebooks, and at 40% he casts from both at once; Grievous Thrash is the sticky one — heal the afflicted player to full to clear it.
A phase fight that ends by removing the phases. Moonkin form is ranged and about avoiding ground effects; Bear form is melee and about not eating repeat Pulverizing Strikes. At 40% he shifts to Haranir form and channels Spirits of the Vale, repeatedly casting Lightfire, Lightfall, Pulverizing Strikes, and Grievous Thrash until he dies.
The spells that matter
The handful you actually react to. Hover for Blizzard's own text; click through for the full tooltip.
 Lightfire
 Lightfall
 Warden's Wrath
 Pulverizing Strikes
 Pulverized
 Grievous Thrash
 Mangling Claws
 Spirits of the Vale
What actually kills you
Everything else is noise until these three are handled.
- Grievous Thrash left up. It stacks and, per the journal, is removed by healing that player to full — carrying stacks into the 40% phase is how groups fall behind.
- Repeat Pulverizing Strikes. Each hit applies Pulverized, increasing the damage of the next one, and it fires at several marked targets at once.
- Standing near where Lightfire expires. Lightfire Beams spawn at the afflicted player's location when the debuff ends.
Your job
If you tank
- In Moonkin form his melee is replaced by Warden's Wrath, a ranged Nature bolt on his current target — the tank damage pattern changes between forms.
- Bear form adds Mangling Claws, boosting his melee — hold mitigation for it.
If you heal
- Grievous Thrash is a healing objective: get the afflicted player to full health to clear it, don't wait it out.
- The 40% Spirits of the Vale phase stacks all its abilities together — spend saved cooldowns there.
If you DPS
- Spread for Pulverizing Strikes so the cones don't overlap and double up Pulverized stacks.
- Run out with Lightfire before it expires — the beams appear where you're standing at expiration, not where it first landed.
How the fight goes
| Part | What to do |
|---|---|
| Step 1 | Moonkin form: Lightfire, Lightfall, and Warden's Wrath on the tank. |
| Step 2 | Bear form: Pulverizing Strikes cones and the stacking Grievous Thrash bleed, plus Mangling Claws melee. |
| Step 3 | At 40%: Haranir form and Spirits of the Vale — Lightfire, Lightfall, Pulverizing Strikes, and Grievous Thrash on repeat until dead. |
Higher keys
Heroic and Mythic
The journal publishes no key-level-specific text; higher keys scale health and damage. We would rather say that than invent a difference.
Loot
Everything Lightwarden Ruia can drop, from the Midnight Season 2 item database.
| Slot | Item |
|---|---|
| Chest | Taproot Ribs |
| Hands | Pulverizing Pads |
| Ring | Lightwarden's Bind |
| Trinket | Lightspire Core |
| Two-hand | Branch of Pride |
| Held in off-hand | Luminescent Sprout |
Nothing matches that.
This boss drops a trinket. Trinket value varies enormously by spec — see the simulated trinket rankings.
Worth a bonus roll?
You cannot roll this boss on its own. A dungeon roll is against the whole instance, so this table is one part of a pool that includes every other boss in The Blinding Vale — the bonus roll guide explains what that changes, and the planner works it out per spec.